Skip introduction and jump to guide
I’ve always loved the style of a LaTeX document since my undergraduate days but I’d never really gotten the chance to learn writing one, until couple of years ago when I worked in academia.
I’ve never been a fan of clicking around graphical user-interfaces (GUI). My ideal approach had always been just to figure out the syntax of a programming language, write what I’d like to see from the program in some console, hit “Run” and see my output. Fumbling around with text styles, sizes, paragraphing, page and margin formatting, references etc. by clicking GUI icons, manual adjustments or using convoluted shortcuts felt like huge inconveniences and distractions to me.

***Then I discovered LaTeX***
LaTeX provides the best kind of UI for me: I specify what I need as codes and it returns what I told it to do — FUSS FREE! (Well somewhat.) It also helps a lot that the default LaTeX font is gorgeous and looks very professional. Despite an initial learning curve, I’ve never looked back since. I’ve written my assignments and resume all in LaTeX now.
Because I wished I had something “beginner-friendly” to reference when I started, here’s my attempt at a guide for anyone who wishes to start writing in LaTeX. I’m pitching this at the absolute layman so it will be extremely basic. I’ll either update with a follow-up (depending on my own competences) or you can Google the rest 🙂
Step 1: Downloading LaTeX
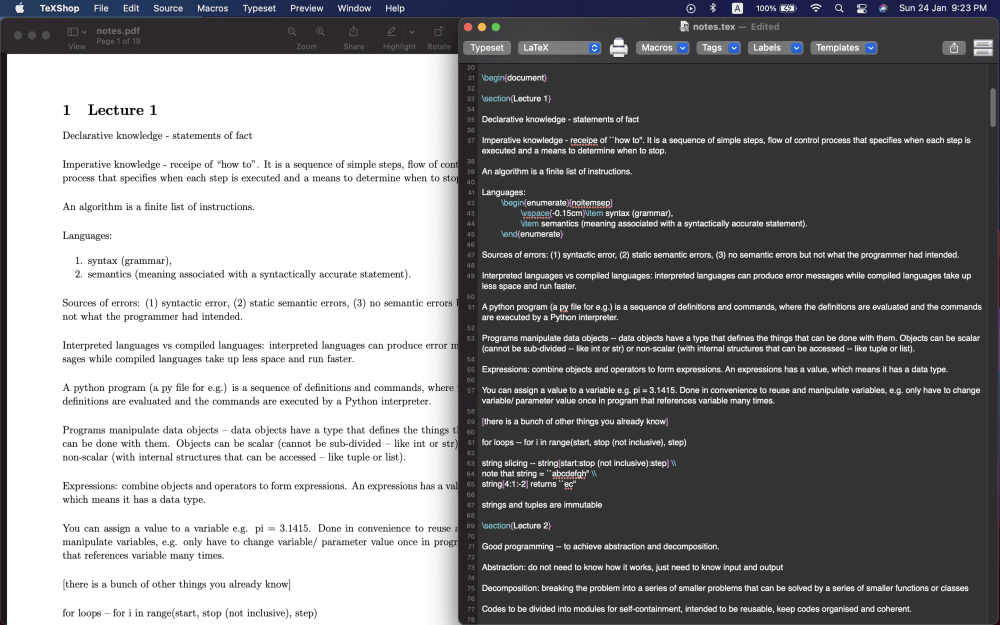
Go to The Latex Project to download the suitable distribution for your OS. I downloaded the MacTex distribution for my MacBook and MiKTeX on my Windows. I’m working primarily from my MacBook so I’ll continue with views from the MacOS and TeXShop. (TeXShop is the GUI program that comes with MacTex.)
The process of writing a LaTeX document is the same regardless of OS, at least from I’ve encountered so far.
Step 2: Getting Started
Once you’re followed through with everything in the installation guide, search for “TeXShop” in your Spotlight (“command” + space) and hit “return”. Open MiKTeX if you’re using Windows.
You should see this:
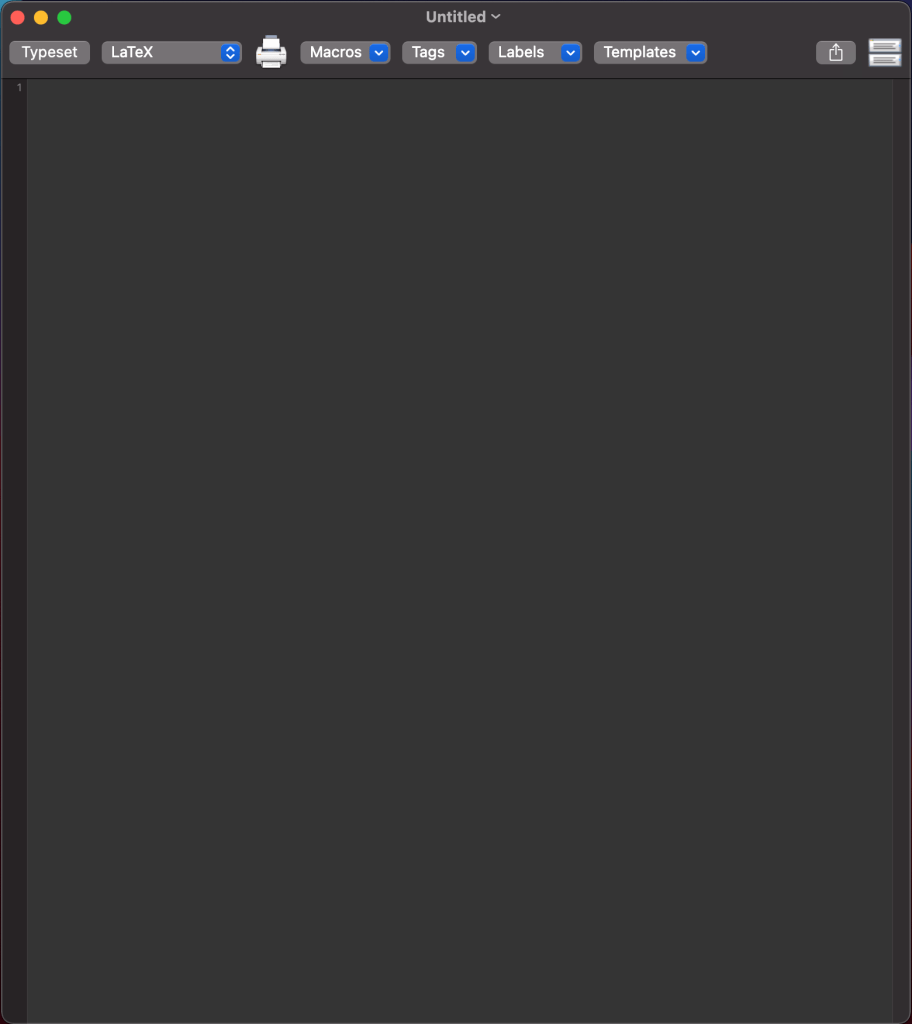
This, and anything you write here will save as a .tex file.
Create a folder on your desktop dedicated for this LaTeX document that you are going to write. You can name this folder whatever you like, but ideally with the same name as your .tex file.
Before writing anything in this .tex file, save it (“command” + “S”) in the dedicated folder you’ve just created.
Step 3: Start Writing
You will always have to specify in the beginning of your .tex file the class of document you intend to write. I’ve only used “article” so far, but you could use “beamer” for presentation slides as well for example. Running or typesetting (button at the top-left corner or simply “command” + “T”) the following,
\documentclass{article}

\begin{document}

Hey there, typesetting this will produce your first \LaTeX document. Enjoy!

\end{document}
will produce this:

And you’re essentially done!
There will be a bunch of seemingly random files produced in your dedicated folder after you’ve typeset your .tex file. I have — in all honesty — no clue about what those are, but leave them there and all you have to deal with are your .tex files and your output .pdf files. 🙂
Step 4: Slightly More Complexities
Everything you write before \begin{document} is called the preamble, while your content lies between \begin{document} and \end{document}.
\documentclass{article}

[your preamble]

\begin{document}

[your content]

\end{document}
In order to do certain things (like writing in mathematical notations), you will use packages. Some packages that I’ve used are amsmath and enumitem. You will insert them in the preamble like so:
\documentclass{article}
\usepackage{amsmath} %to write in math
\usepackage{enumitem} %to produce a numbered list
\begin{document}
% everything behind % will be ignored during typesetting
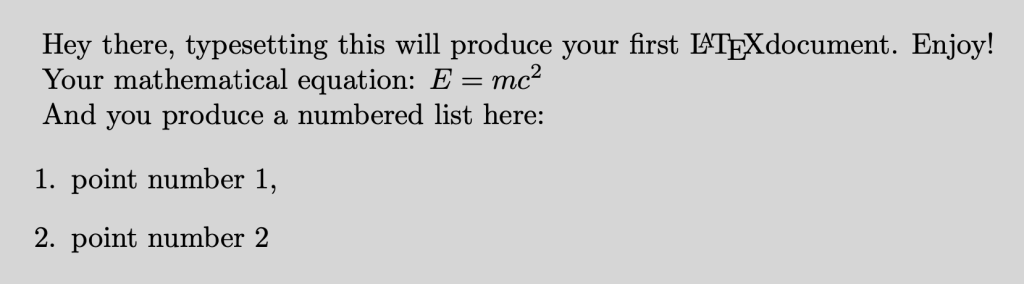
Hey there, typesetting this will produce your first \LaTeX document. Enjoy!
Your mathematical equation: $E = mc^2$
And you produce a numbered list here:
\begin{enumerate}
\item point number 1,
\item point number 2
\end{enumerate}
\end{document}This produces:
Evidently, more has to be done before this becomes a presentable document. This is the initial learning curve associated with LaTeX, but with enough use (and Googling), you can typically use the same “base template” for all your documents in the future.
Check these links out for further guides:
Paragraphing
Writing in math
Importing images into your document
Opinion
The main advantages for me from LaTeX are the minimal need to deal with GUI’s and the flexibility and convenience it accords with using codes.
I’ve once had to repeatedly compile large volumes of images (every image changes with time), and each time in a similar format. This would have been a disaster if I were doing the formatting manually in Microsoft Word each time I get a new set of images. With LaTeX, all I had to do was write the base .tex file and specify the paths to each image once. I simply hit “Typeset” each time I get a new set of images and the output .pdf document gets updated with the new images in the same structure — no need to fuss with manual alignment and formatting. 🙂
Separately, LaTeX is also great for bibliography management and referencing, but this will be a whole entry altogether, if anyone is interested.
Lastly, my difficulties with LaTeX are usually solved with some Googling and copy-pasting codes from users who have posted their solutions. 😉
Please feel free to reach out in the comment box below with further questions or point out any inaccuracies that you might find!

One thought on “A Lazy Man’s Guide to Start Writing in LaTeX”